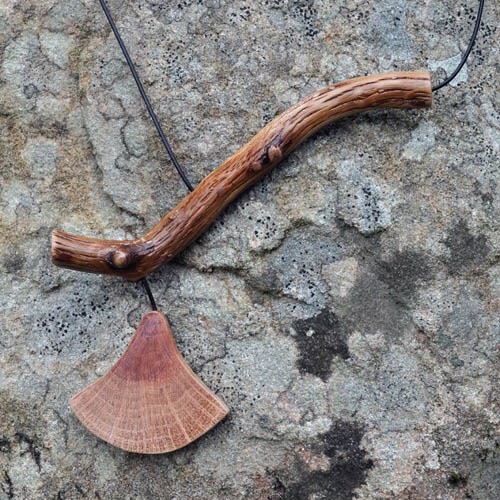
Here we go through the steps required to make a unique wooden necklace using timber that fell from a tree in my garden.
Visit the shop to see the selection of wooden necklaces we have available now
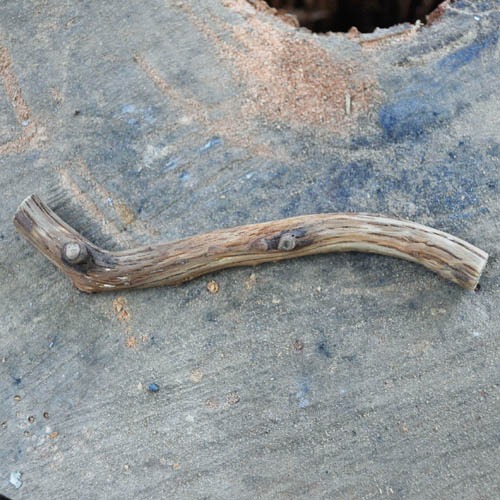
Step 1 – Decide on the wooden necklace design
We start by finding a nice piece of wood and deciding what the finished necklace will look like. In this case, a bent stick will be used to create a unique off centre shape with a small pendent created from a larger section of wood.
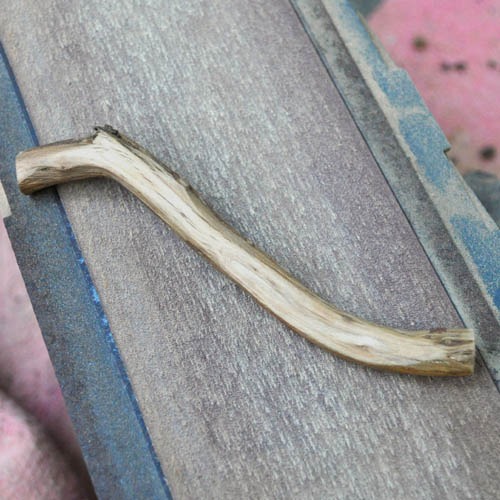
Cut the stick to the right length and sand down the back so that there is a smooth surface to work on.
Step 2 – Prepare the fasteners
Use a 1mm drill, a 3mm drill and a 6mm router bit to drill out the enclosures required to secure the cord to the finished piece. First use the 3mm drill to make a hole a few mm deep. Then use the router bit to widen the hole and finally use the 1mm drill to make a hole to feed the necklace cord through.
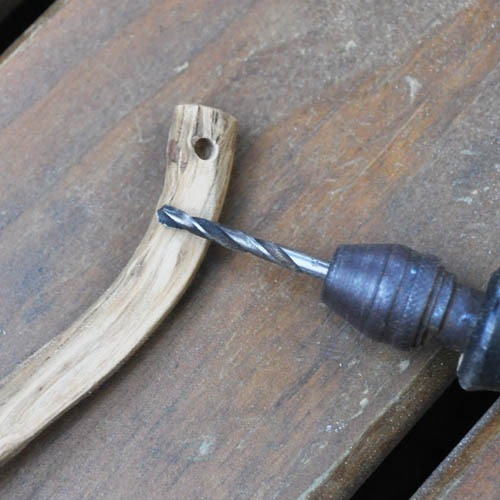
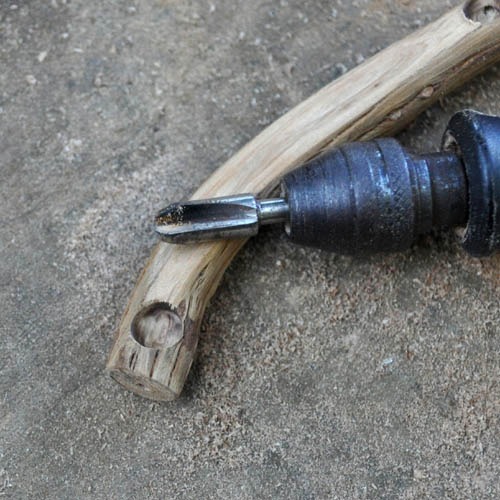
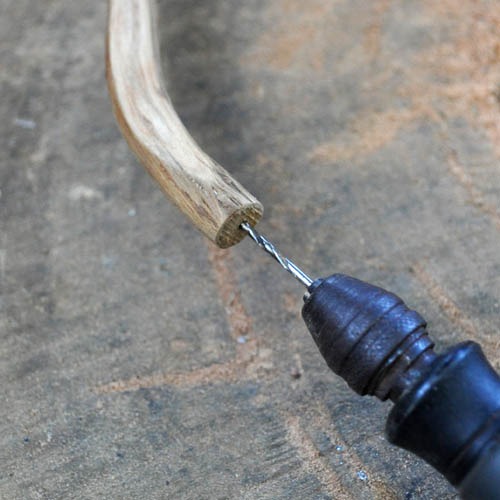
Do this three times. Two for the necklace cords and one to secure the pendent.
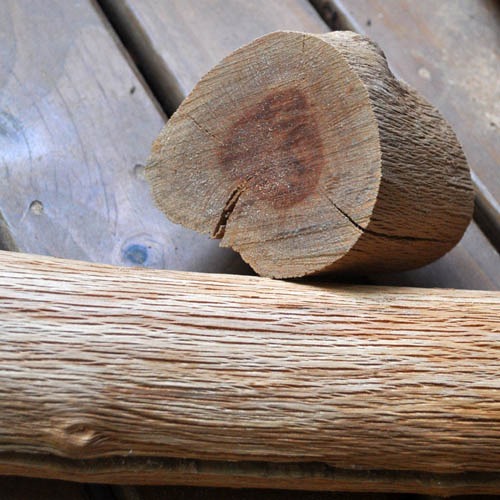
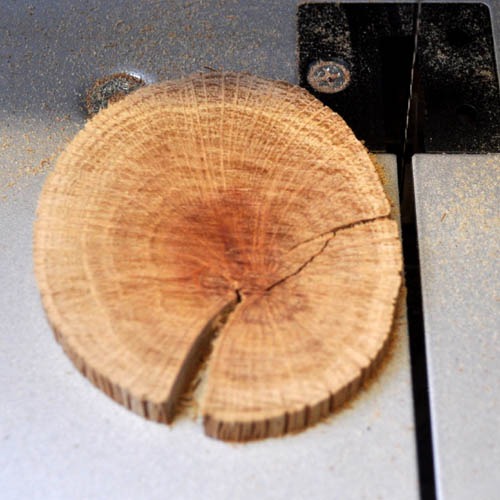
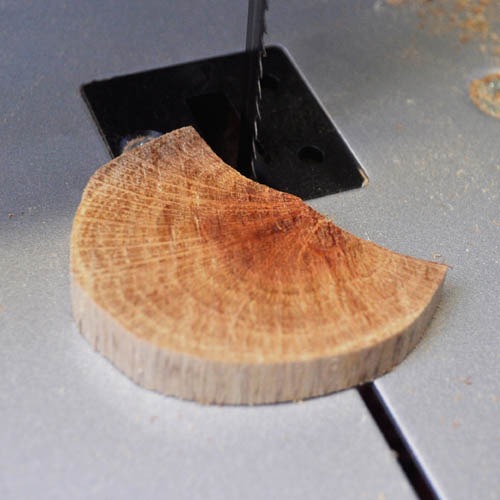
Step 3 – Prepare the pendant
Moving on to the pendent, we select the piece of wood to be used and cut a 1cm slice from the end using a band saw.
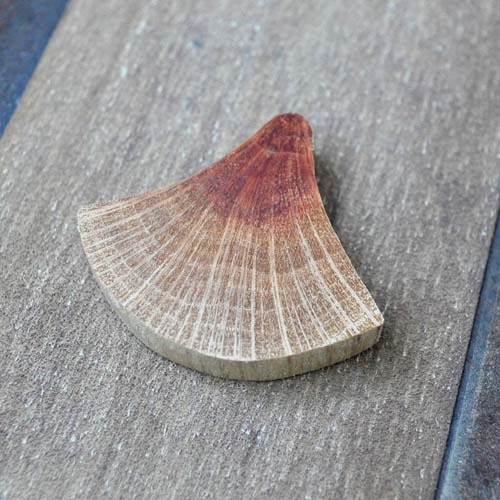
Step 4 – Shape the pendant
Again with the Band saw, trim the pendent to shape before using sand paper to finish off. In this case we are going for a nice fan shape design.
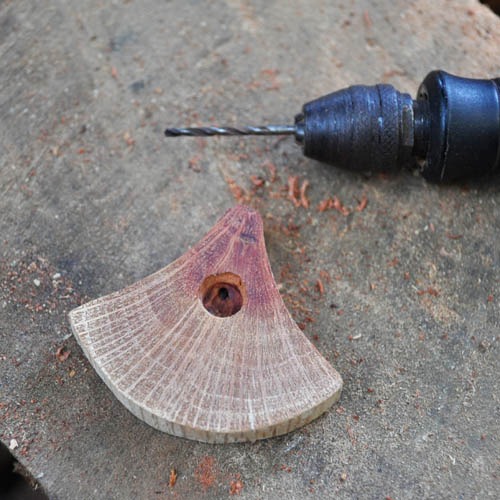
Step 5 – Drill pendant fastener and finish
Repeat the process of drilling out an enclosure to secure the pendent to the necklace before giving it a final sanding with fine sandpaper to finish off before painting with a water based varnish.
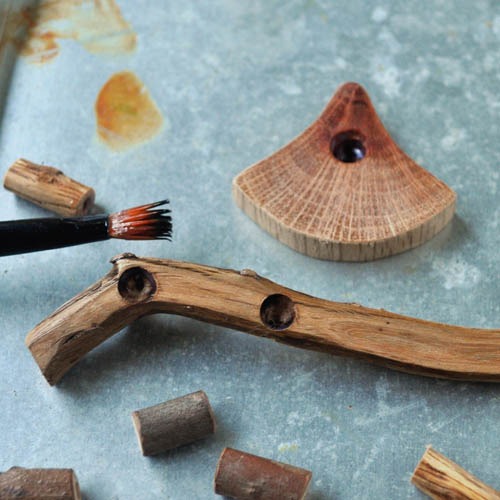
Step 6 – Assemble the wooden necklace
Once the varnish dries, all that remains is to assemble the necklace. The cord is secured by passing it through the 1mm holes before being tied with a knot. Once assembled, you should have no visible knots showing so it’s ready to wear.
Visit the shop to see the selection of wooden necklaces we have available now