Boring old dead sticks are good for nothing but firewood right? Not true at all. As can be seen below you can use them to produce some quite beautiful things. Below you’ll find a great example, a Christmas Star.

If you’d like to make your own
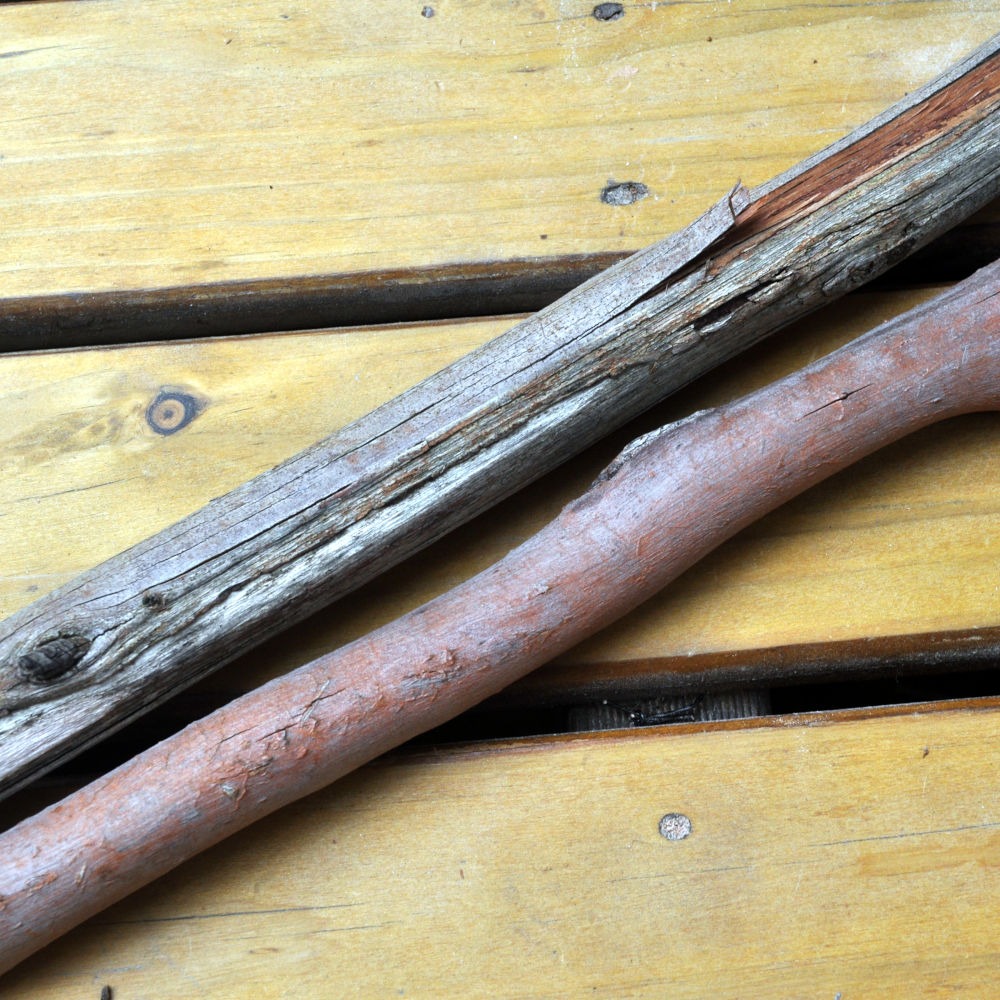
Step 1: Materials
Go out and find your materials. To make this Christmas Star, we need one stick wide enough for the points and another with a diameter large enough for the central covers. Of course you can use the same stick for both but in this example I use separate sticks for each job.
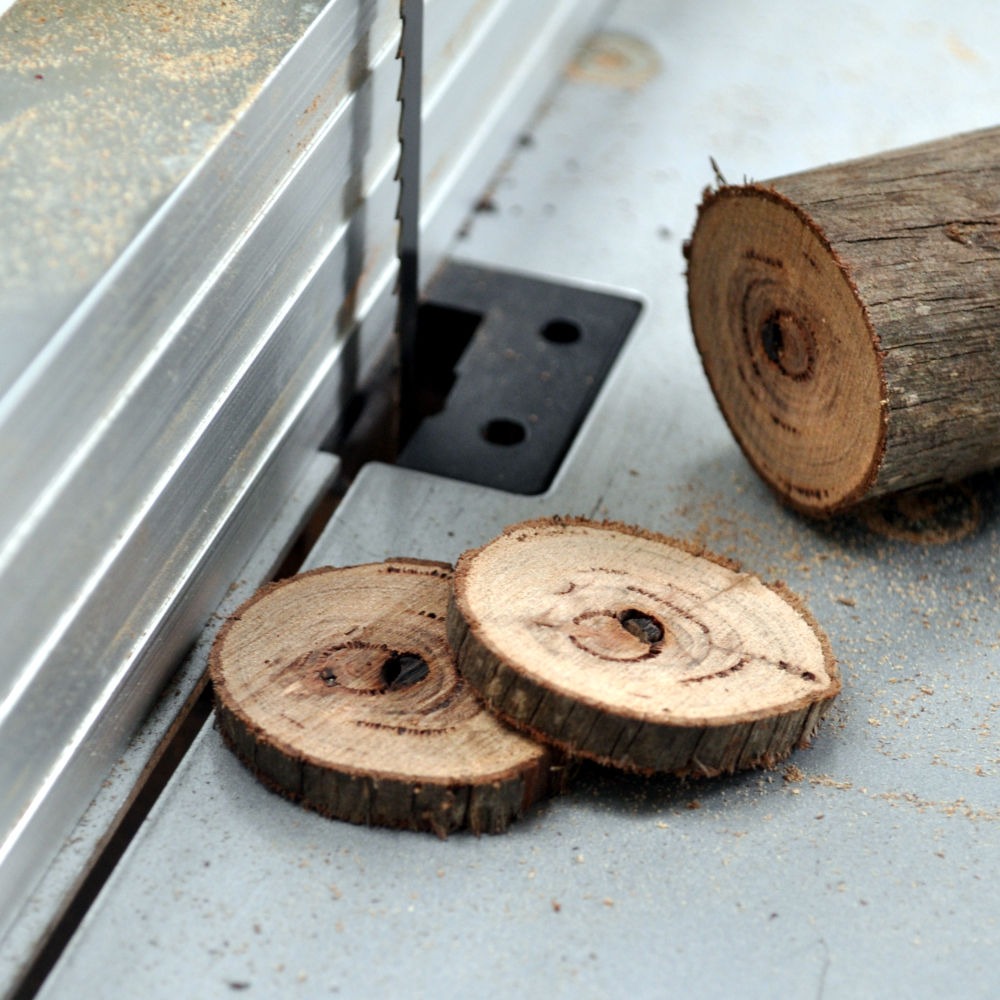
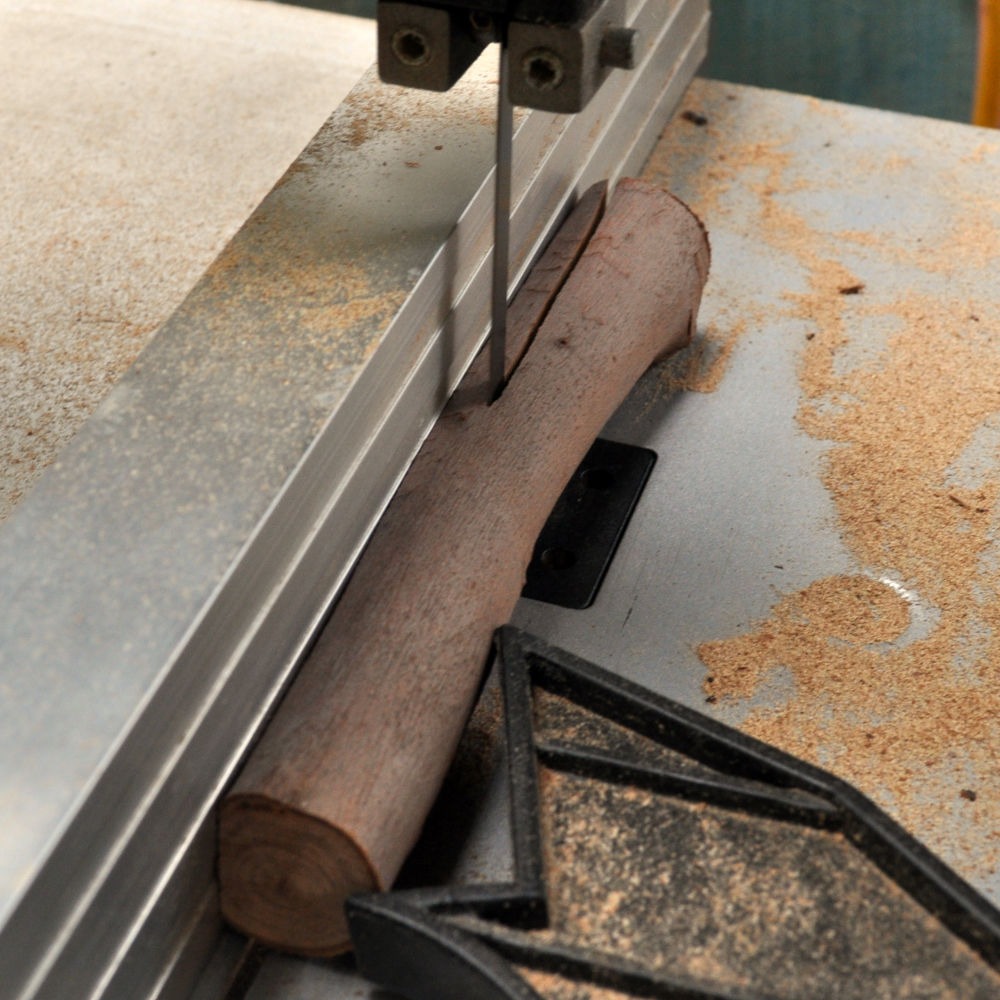
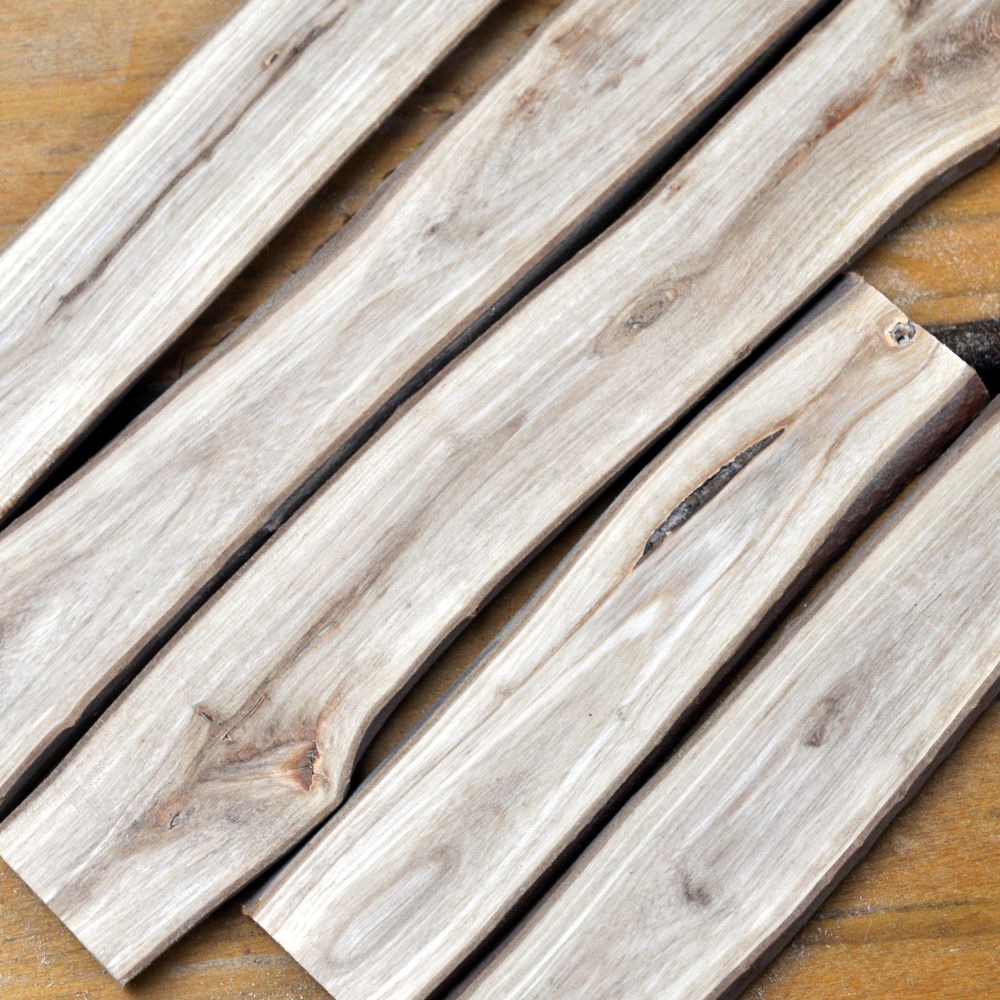
Step 2: Cut the branches
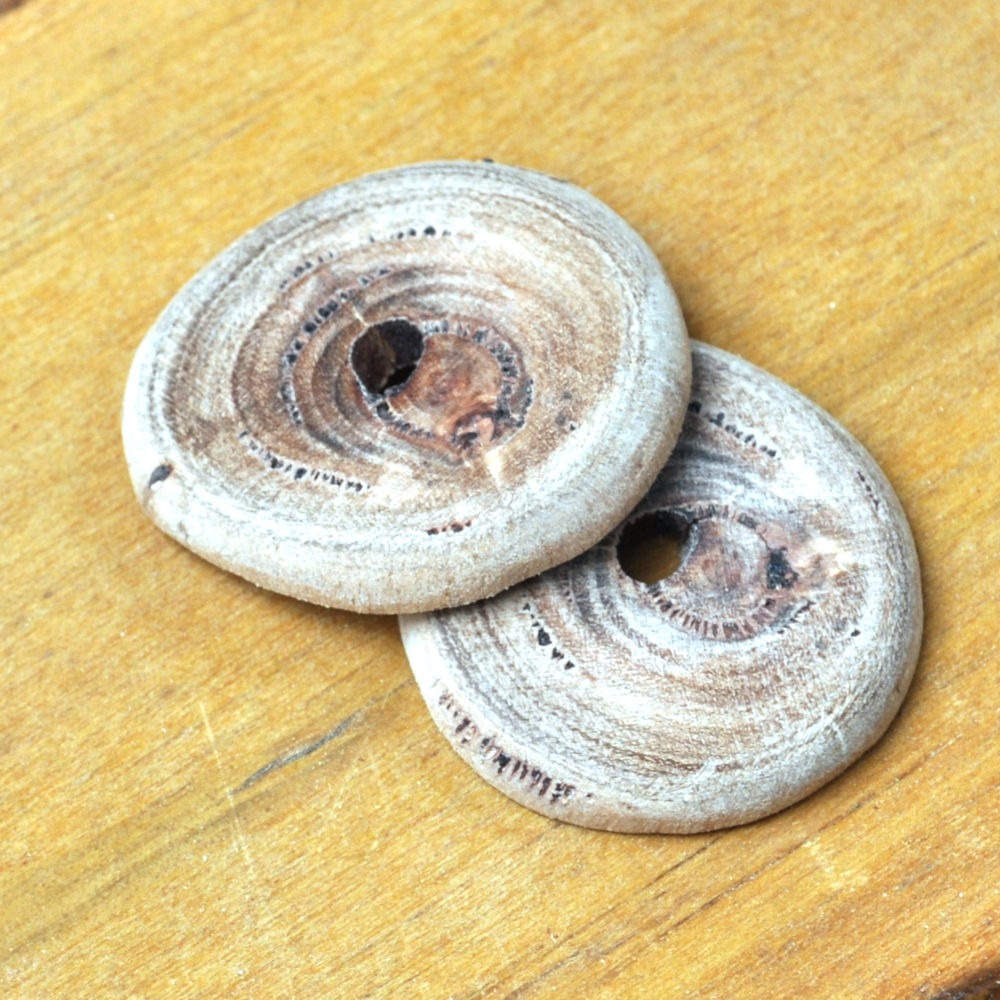
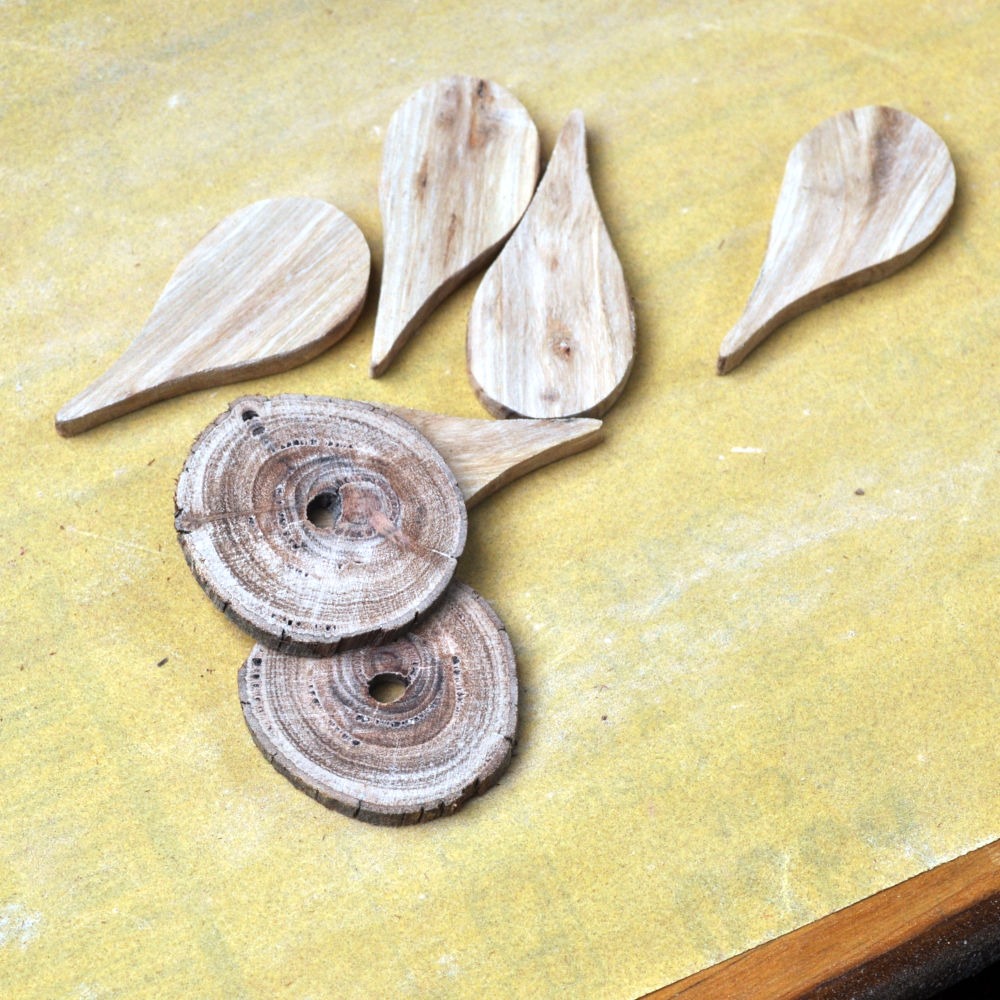
Use a saw to cut two 4mm rounds from the end of a branch and then length ways into 4mm slices. A band saw is the best tool for this job.
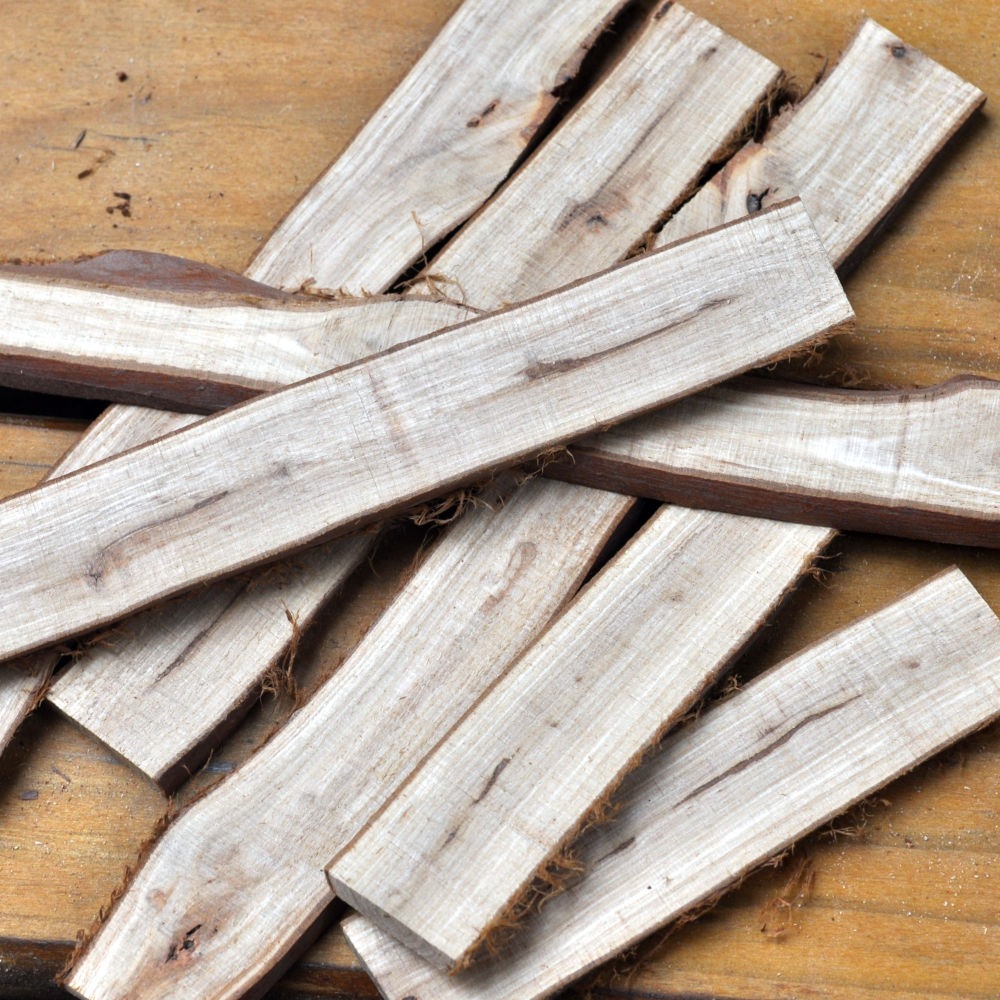
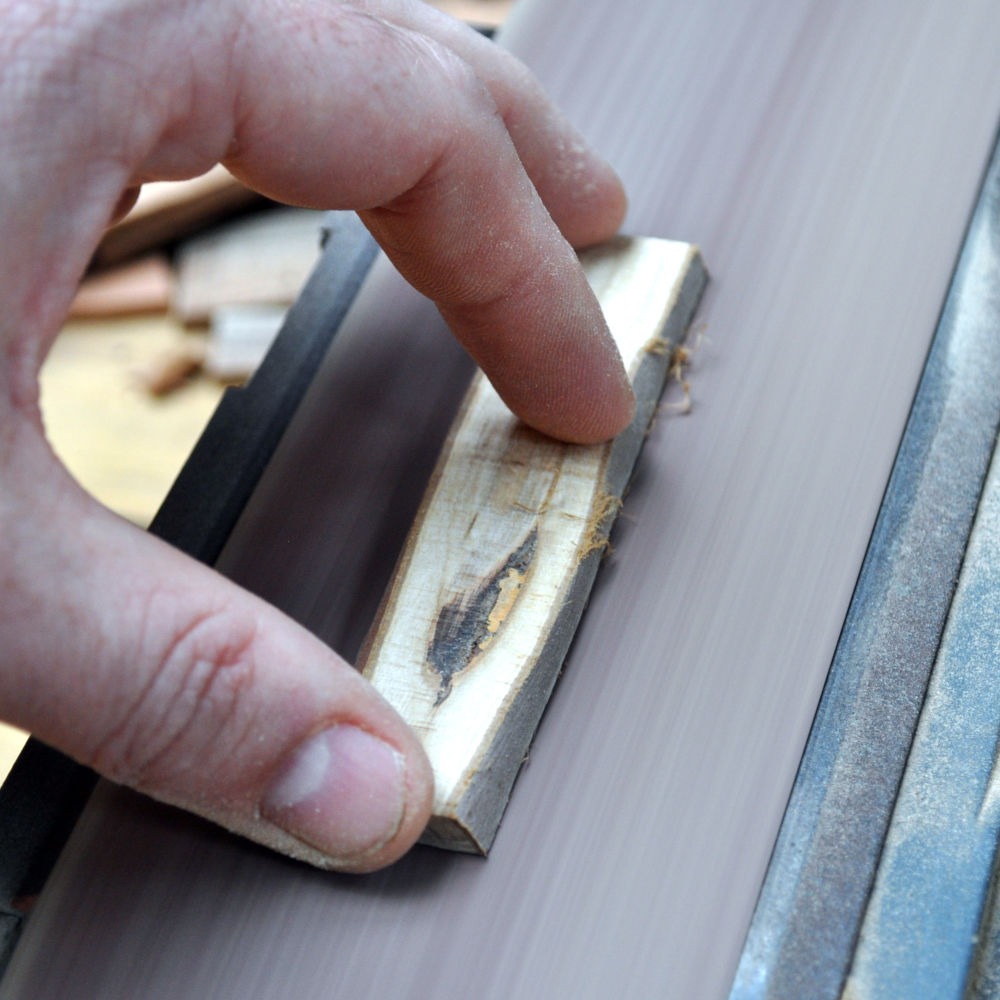
Step 3: Sand the pieces
Use a belt sander to Smooth out the cut surfaces and make sure that all pieces are the same width.
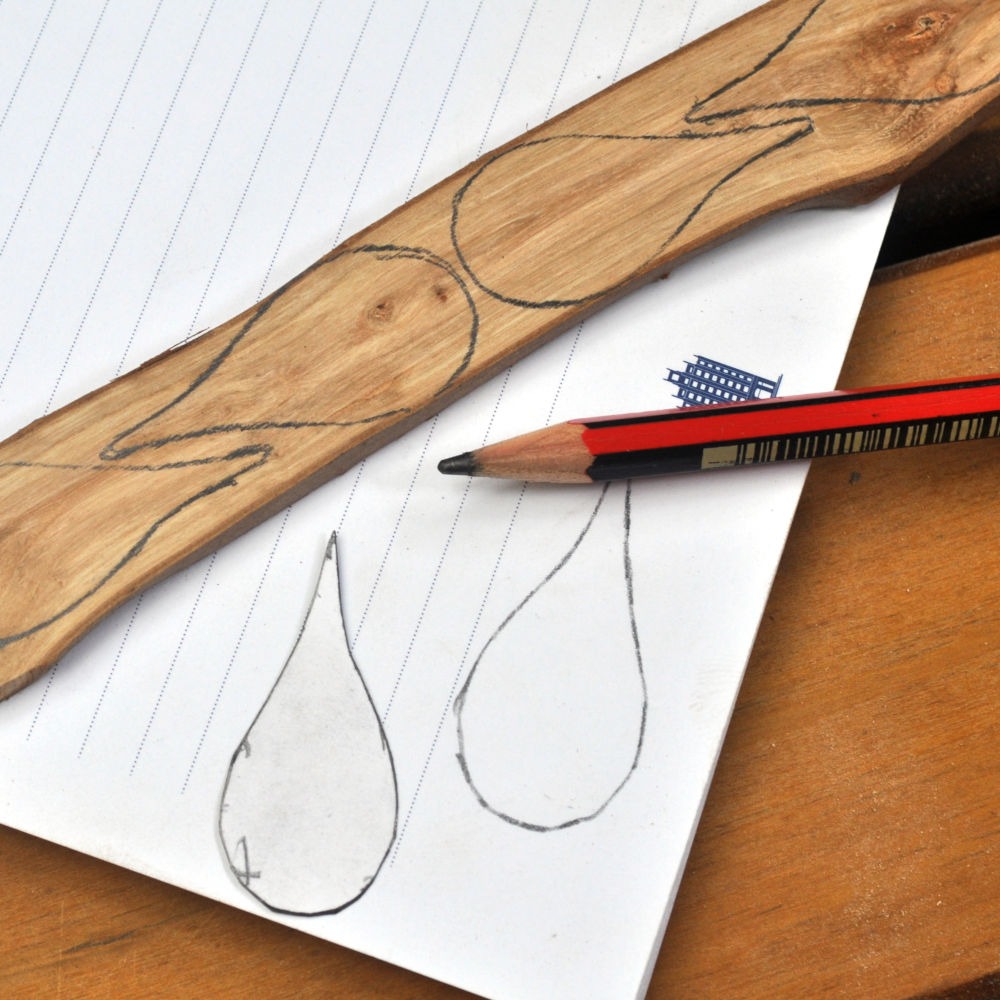
Step 4: Mark out the design
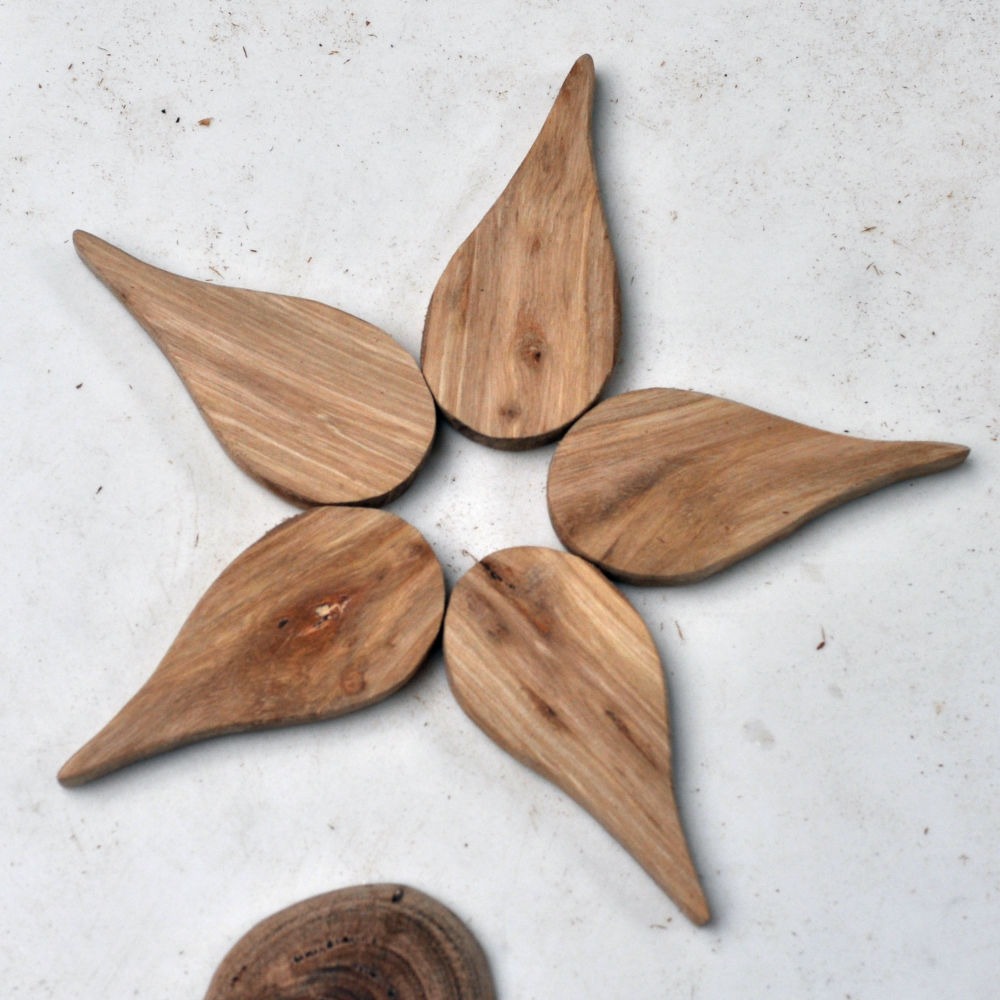
Draw out a tear drop shape on a piece of paper and cut it out to use as a template. Use the template to mark out the star point shapes on the sanded wood slices. You will need at least five but I always do a few extras just in case.
Step 5: Cut out the points
Use the band saw to rough cut out the star points.
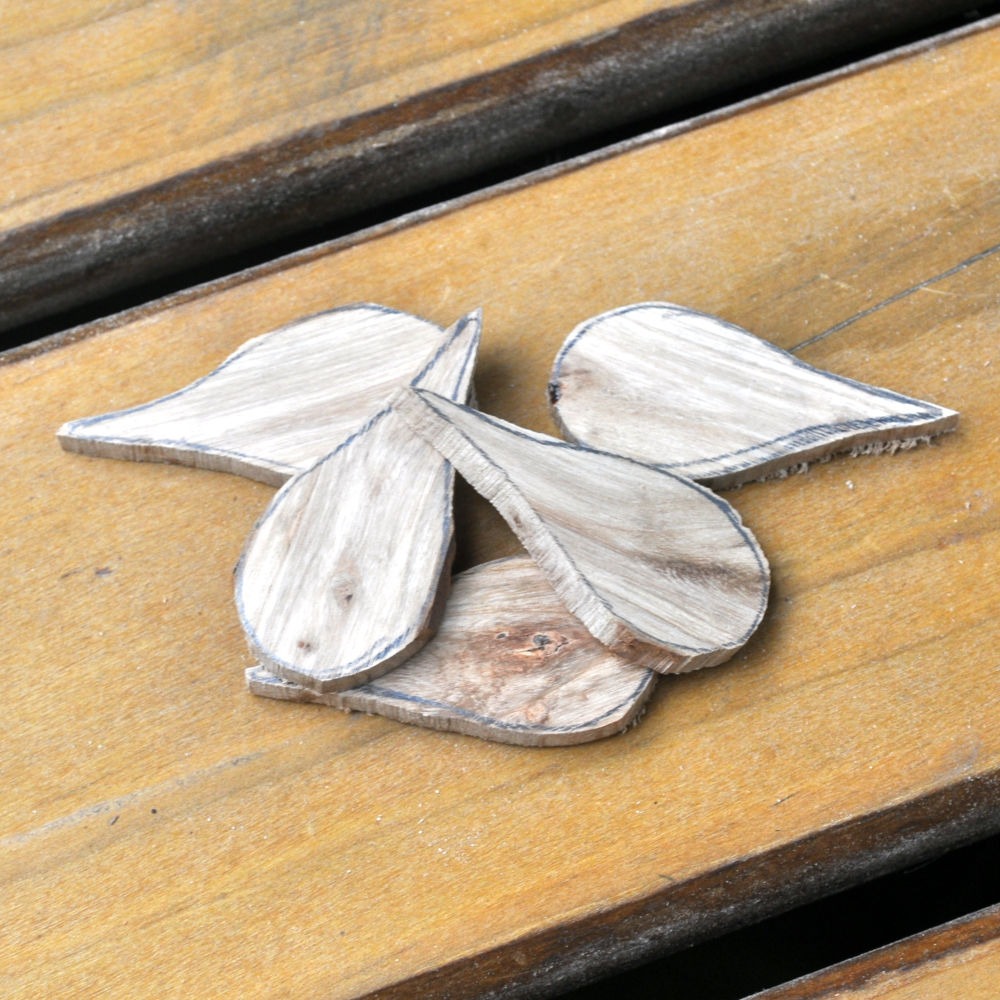
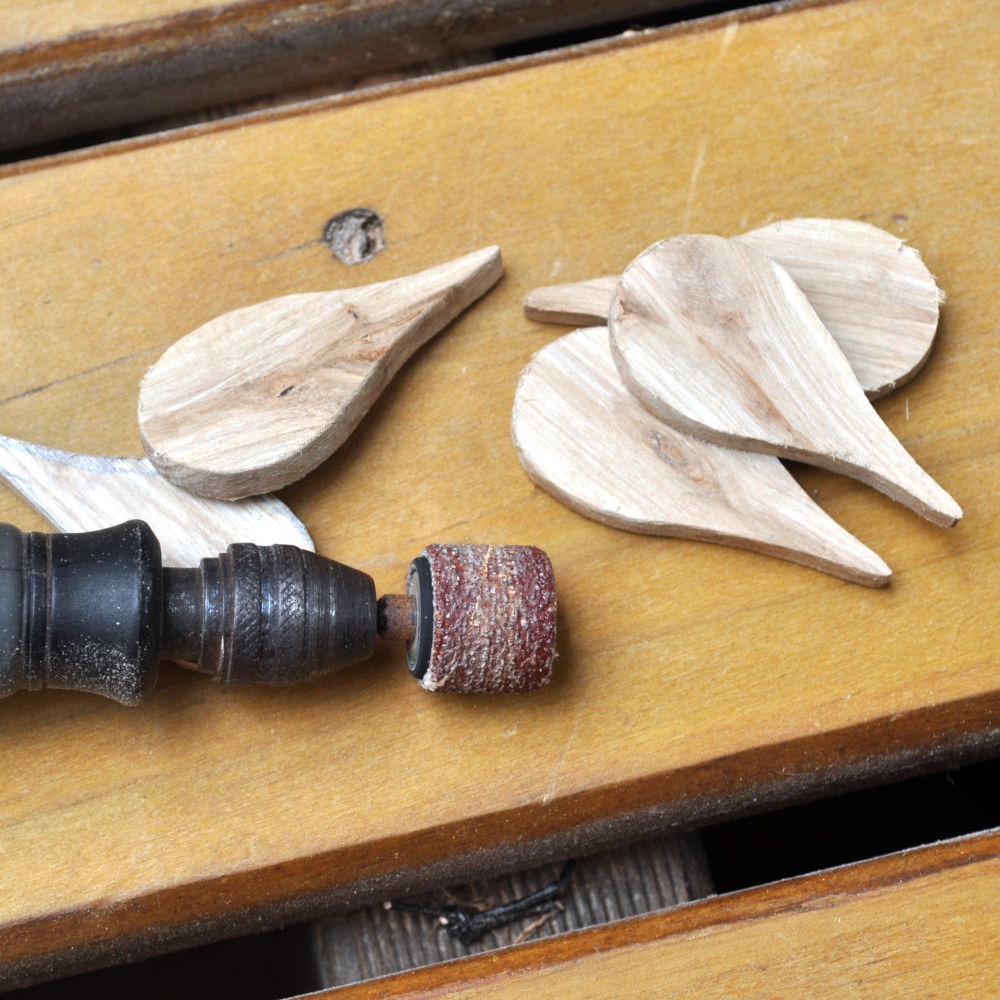
Step 6: Sand back the rough edges
Sand the rough cut points to refine the shape using a small drum sander attached to a rotary tool such as a Dremel. Use the same tool to round off the corners from one side of the two round pieces as well.
Finish off by using finer 180 grit sandpaper to go over all the pieces and get them ready for assembly.
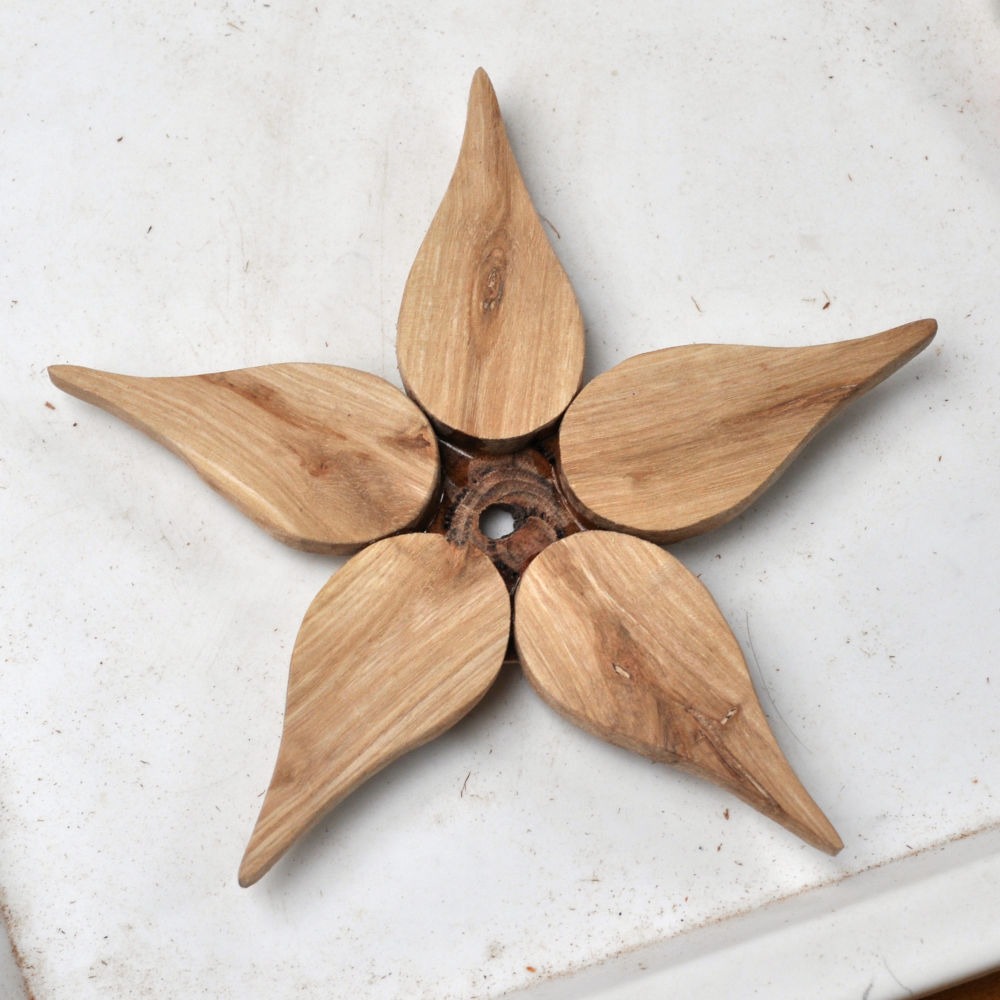
Step 7: Align pieces for assembly
Begin by laying out the five points on a flat surface ensuring that all angles line up correctly and that the star shape is even.
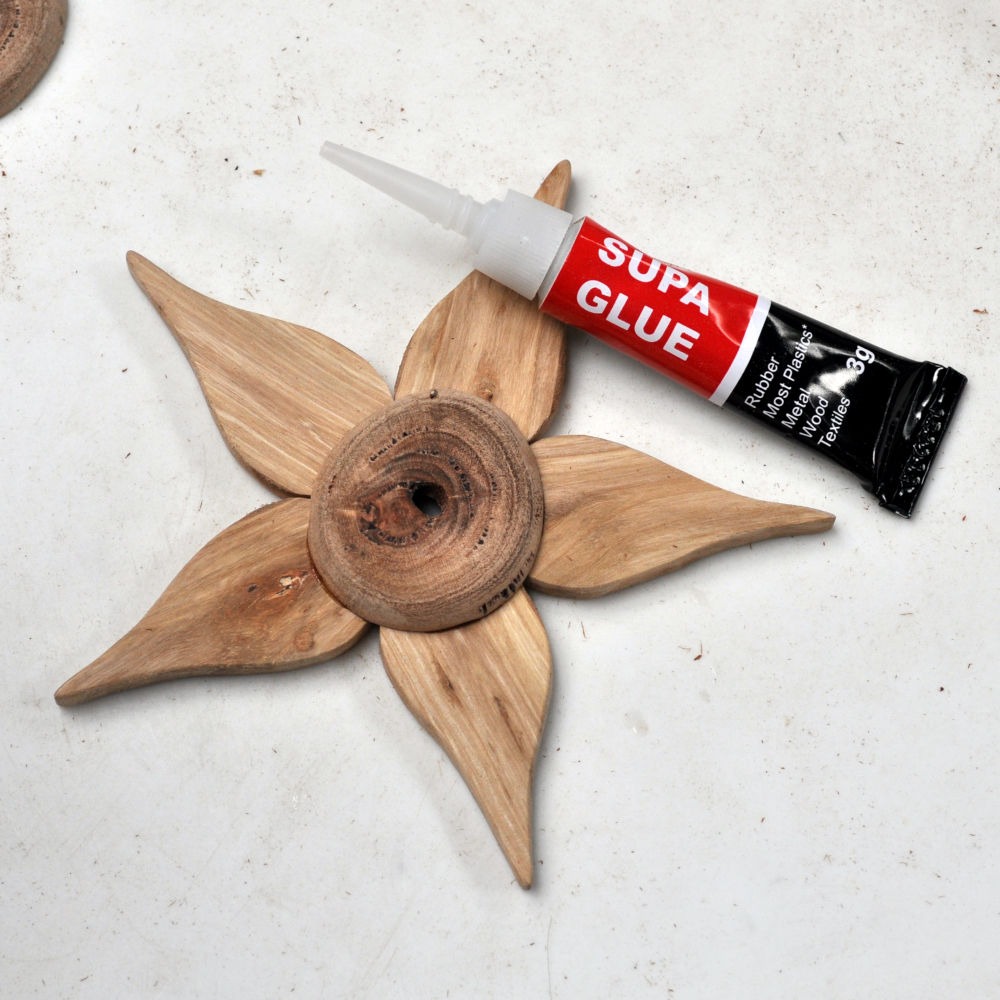
Step 8: Glue first side
When happy with the shape, place a drop of glue on the base of each star point and carefully position the first round on top. If using super glue, be very careful as you won’t be able to move the pieces once they come into contact.
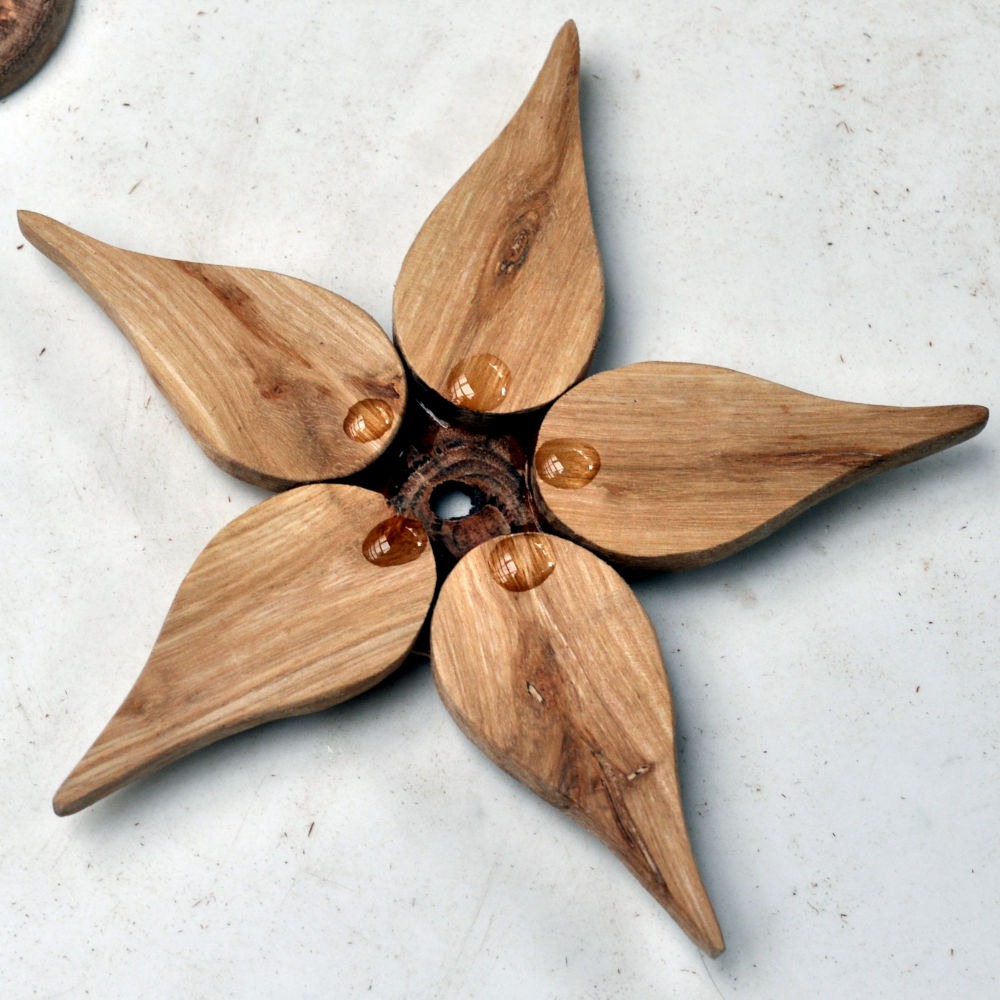
Step 9: Glue second side
Once the glue is set, flip the star over and repeat the gluing process to affix the second round to the other side. Make sure you align the second cover piece with the first on the other side so the star looks even.
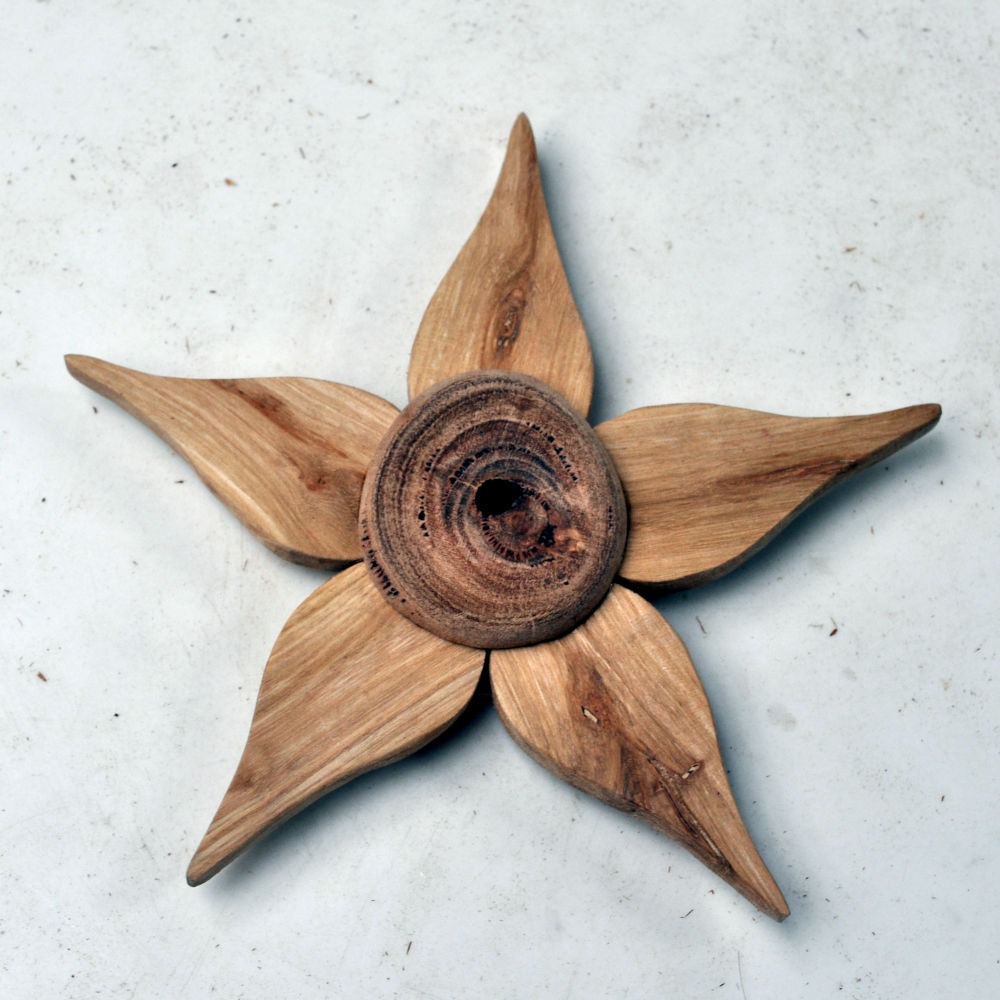
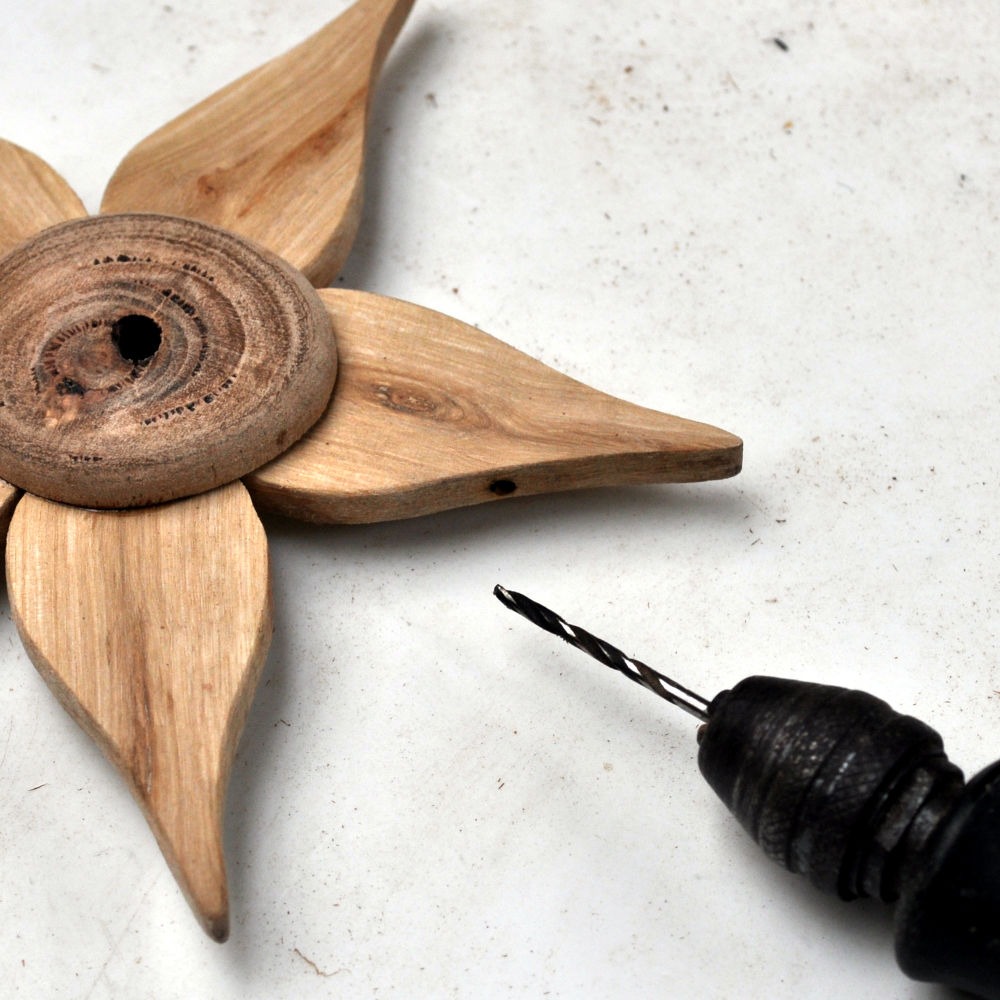
Step 10: Drill hole to hang star
With all the glue dried, it is now time to decide which point is the top. After you decide, drill a 1mm hole through that point to enable us to hang the star on a Christmas tree. The hole should be positioned about half way up the point.
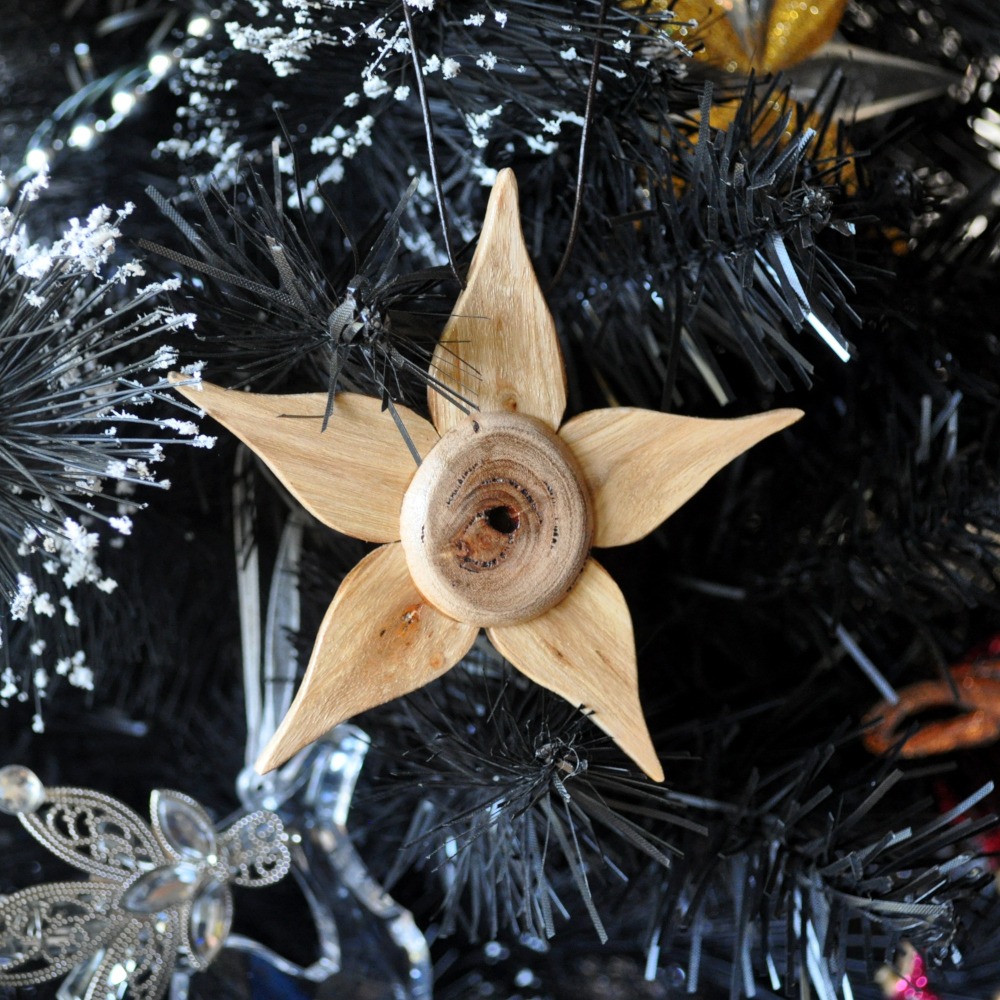
Step 11: Varnish and hang the Christmas Star
With the assembly complete, all that remains is to give the star a couple of coats of clear varnish with a light sand using 320 grit sandpaper between them.
With the varnish dry, thread a length of 1mm leather cord through the hole, tie it off and hang the Christmas star.
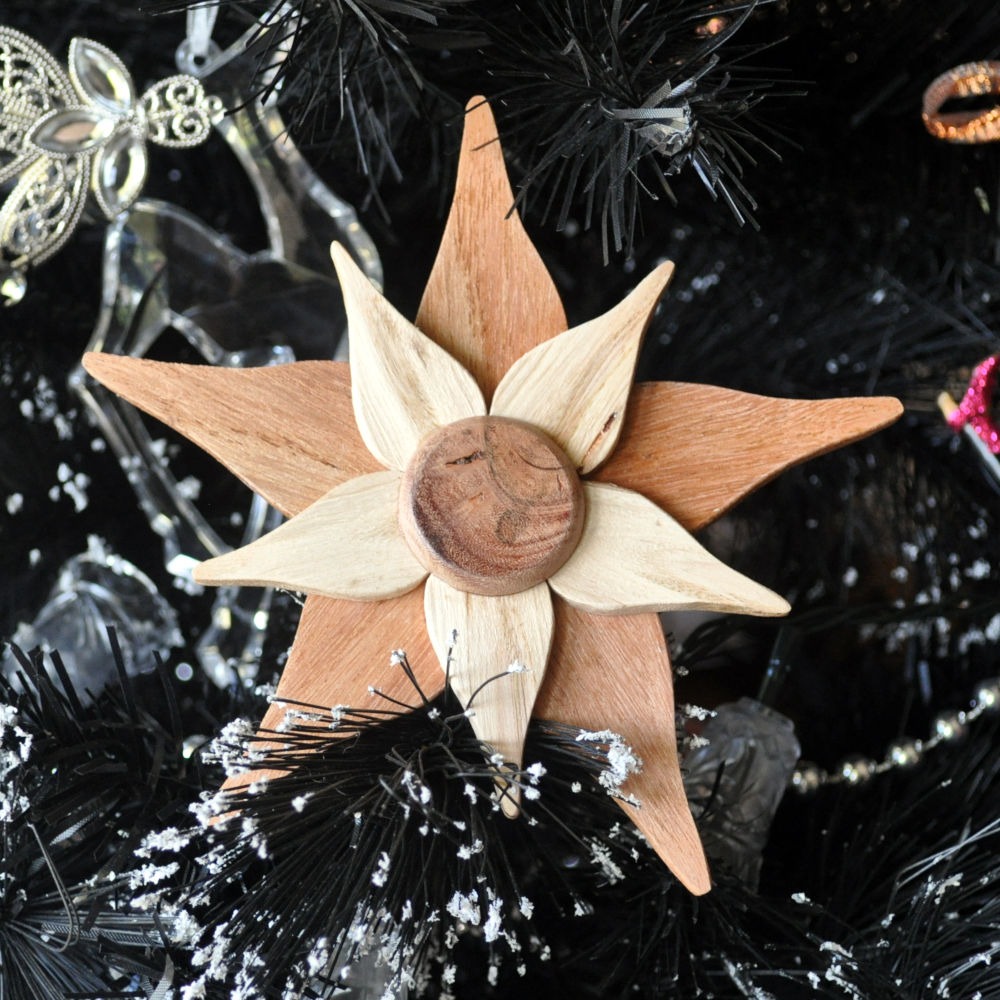
Once you have the basic techniques down, you can then move on to more complex designs.
Don’t feel like making your own? Take a look in the shop to see what I have available now. Or use the Contact page to send me an email if you’d like something specific.